Artwork carriers are a safe and durable way to transport your artwork to and from shows. The following instructions will show you step-by-step how to make your own carrier.
You will need the following materials:
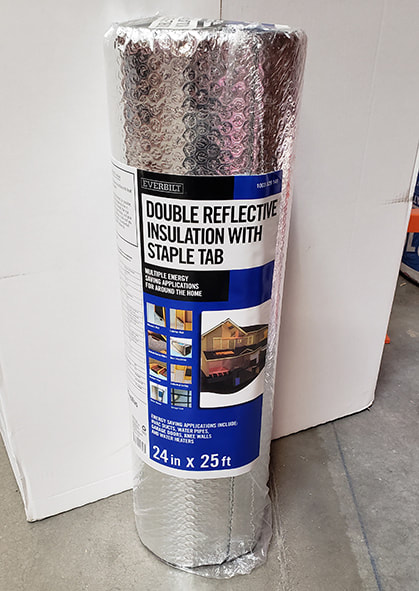
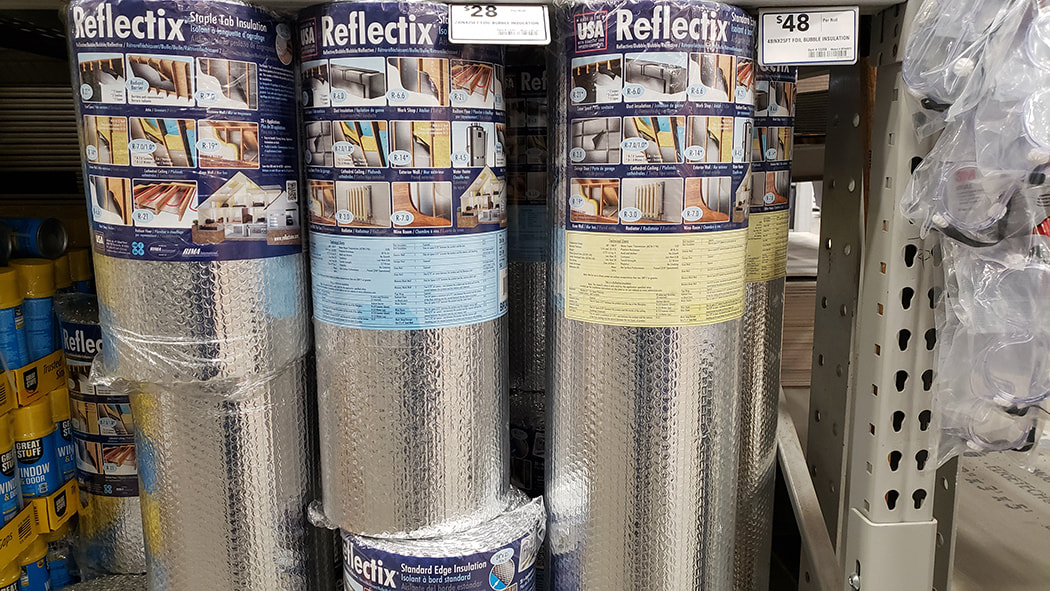
1. Double sided reflective insulation - various brands can be found at Home Depot or Lowe's
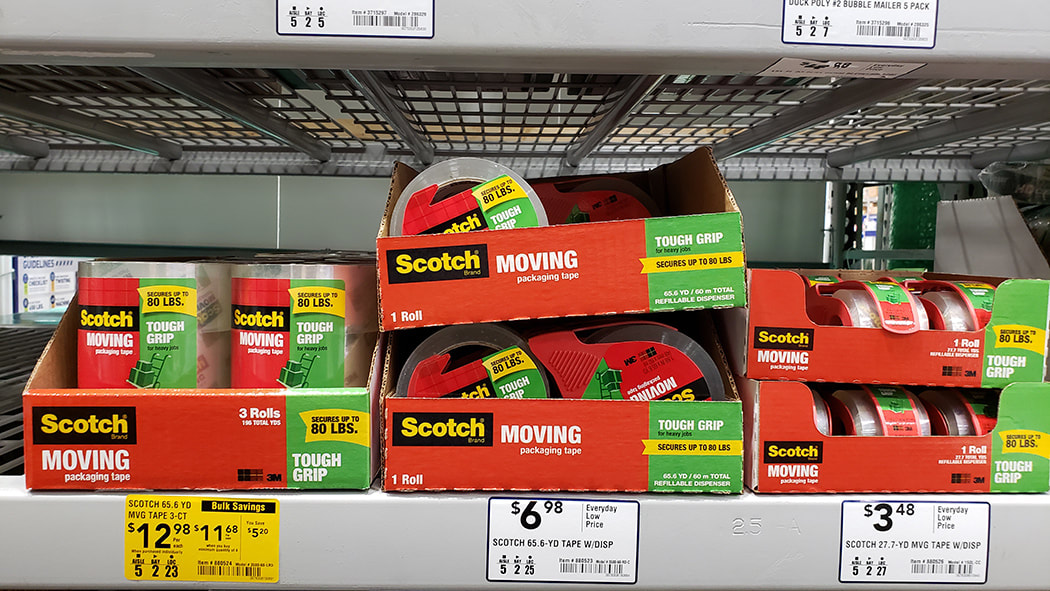
2. Packing tape
3. Scissors
4. Tape measure
5. Page protector
6. Fasteners for flap
2. Packing tape
3. Scissors
4. Tape measure
5. Page protector
6. Fasteners for flap
Making the Carrier
1. Measure the size of your piece of art to determine how to cut the insulation.
2. Add several inches and allow for the flap.
3. Fold up and tape the sides with the packing tape. We use 3 lengths of tape to secure the sides.
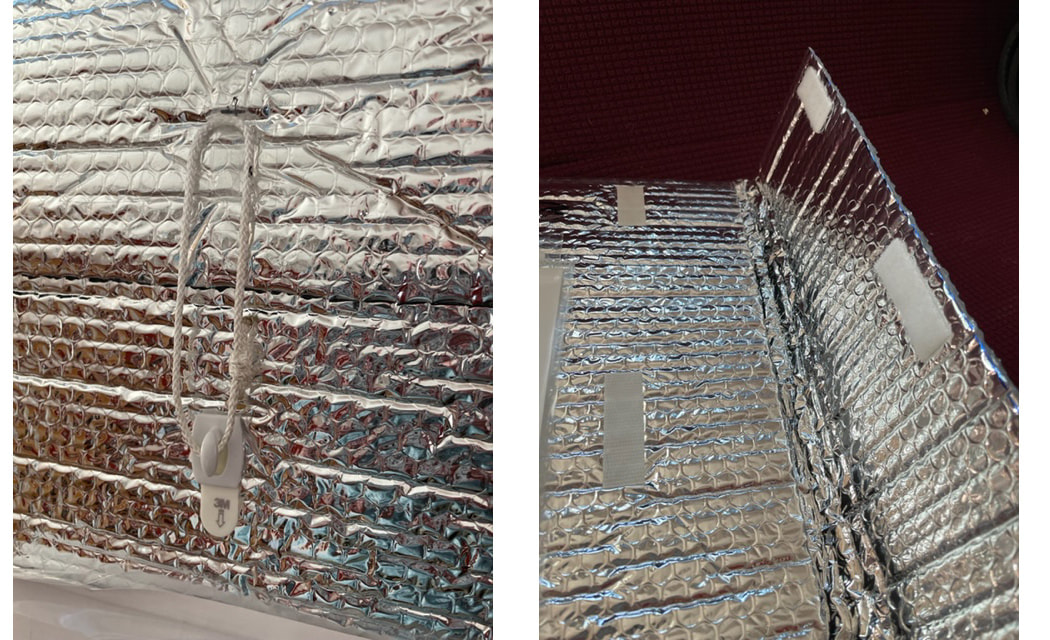
4. Fasten the flap with Velcro or command hooks with a loop of string.
4. Lastly attach a page protector with packing tape for a picture and info about your art.


